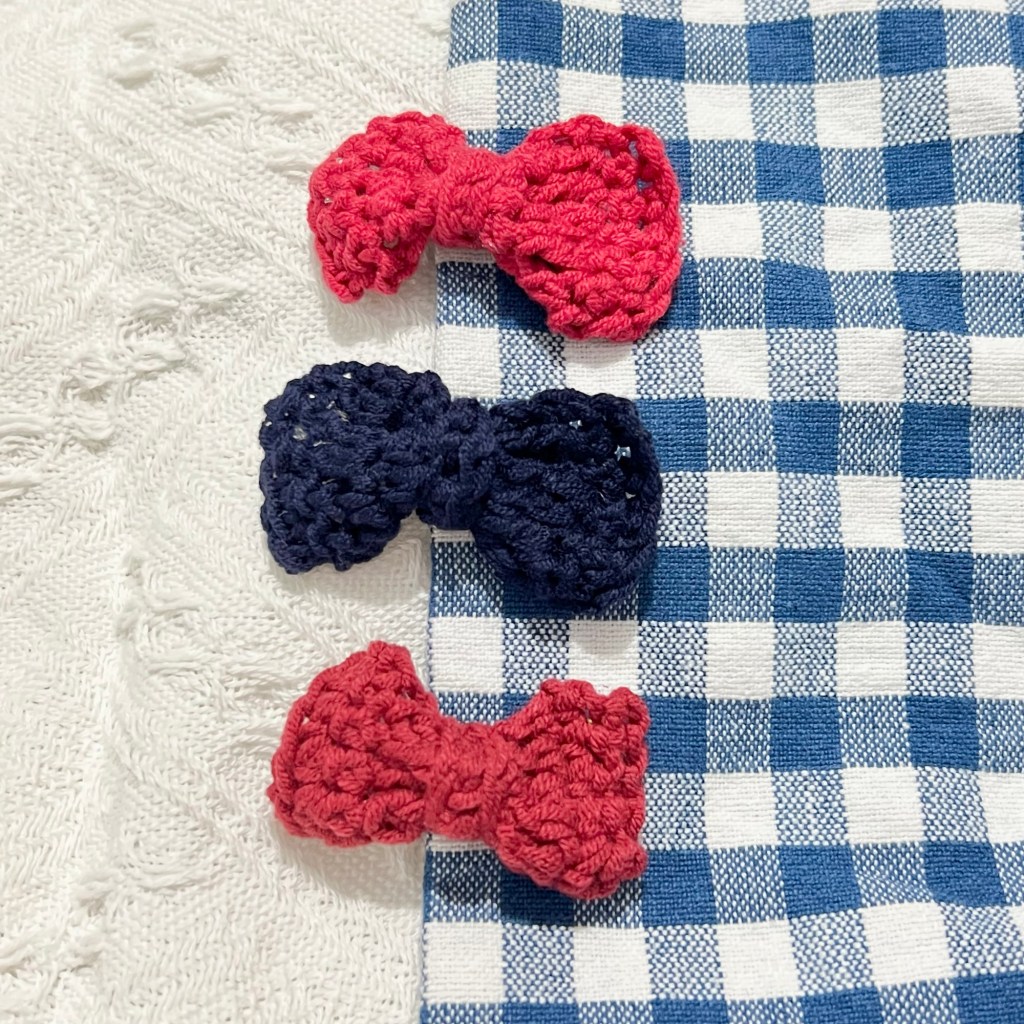
To all bow lovers and crochet beginners, I present to you this quick and simple pattern that can be done in 15 minutes. Go grab your hook and yarn to join : )
Pattern Information:
– Skill level: Beginner
– Instructions written in US crochet terms
Measurements:
– Finished size: 6 x 3 cm (approx.)
Materials:
– Milk cotton 4-ply yarn
– 4.0mm crochet hook
– 45mm alligator hair clip
– Yarn needle
– Scissors
– Glue gun
Abbreviations:
CH – Chain
SC – Single crochet
DC – Double crochet
<> – Total number of stitches of the row
Pattern Notes:
You may use any yarn and corresponding crochet hook for substitution. Please note that it may result in a larger size of the finished product if thicker yarn is used, vice versa.
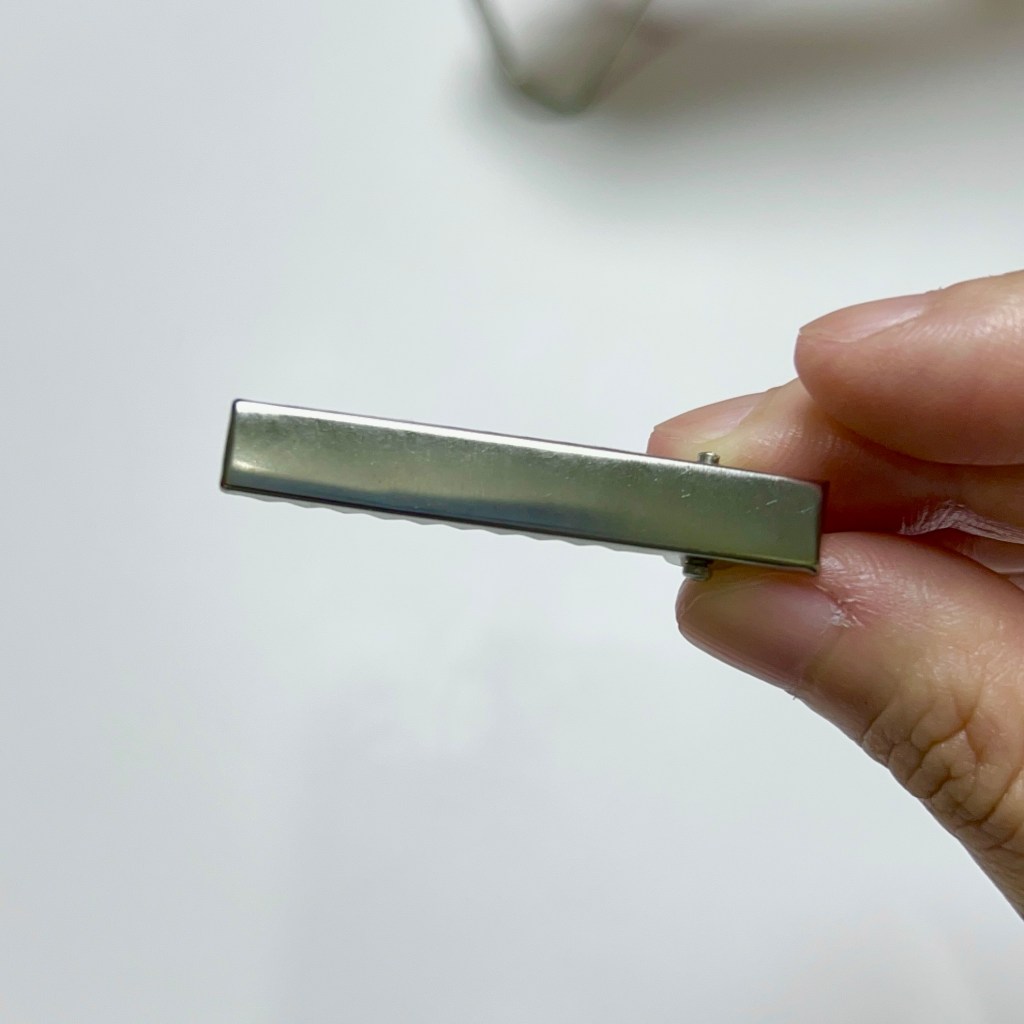
A change in the size of alligator hair clip used is recommended if there is any change in bow size. Alligator hair clips with a flat wide surface would be perfect for attaching the bow as shown below:
Pattern:
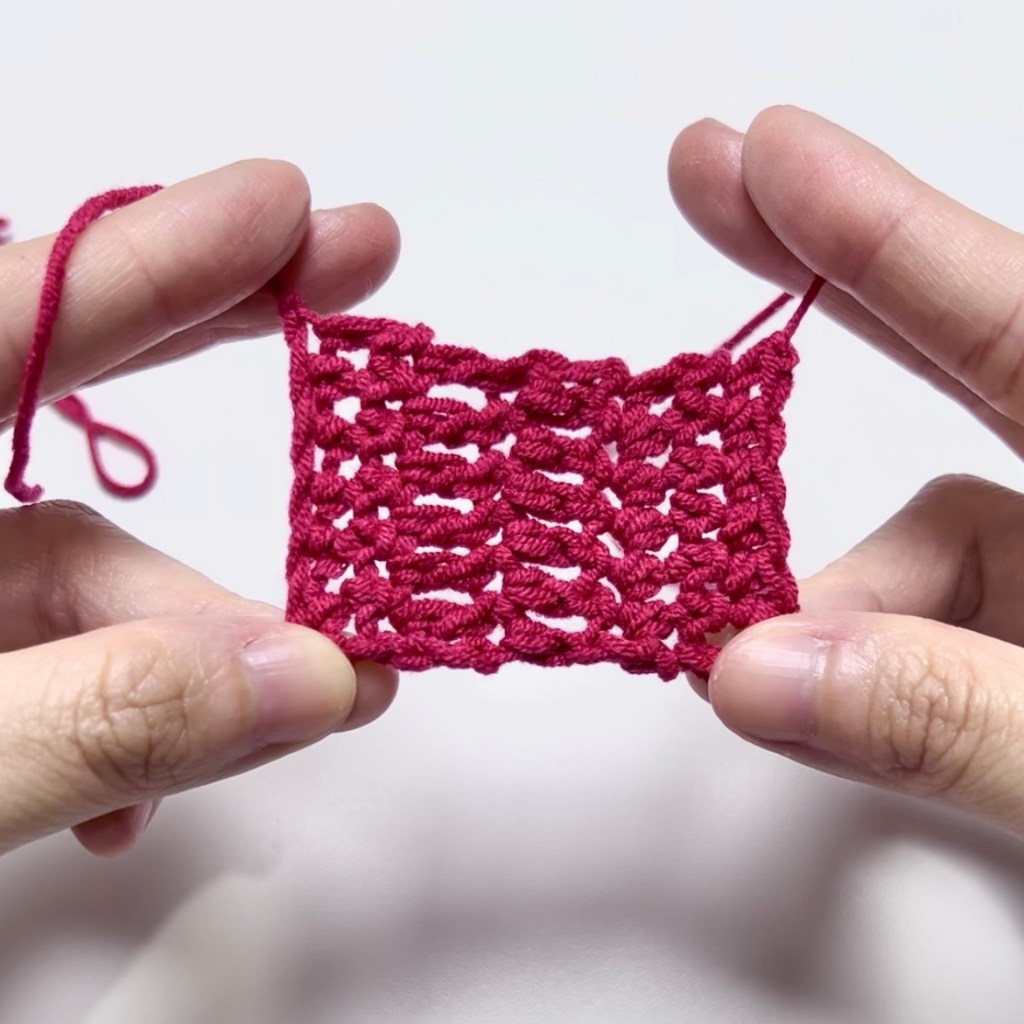
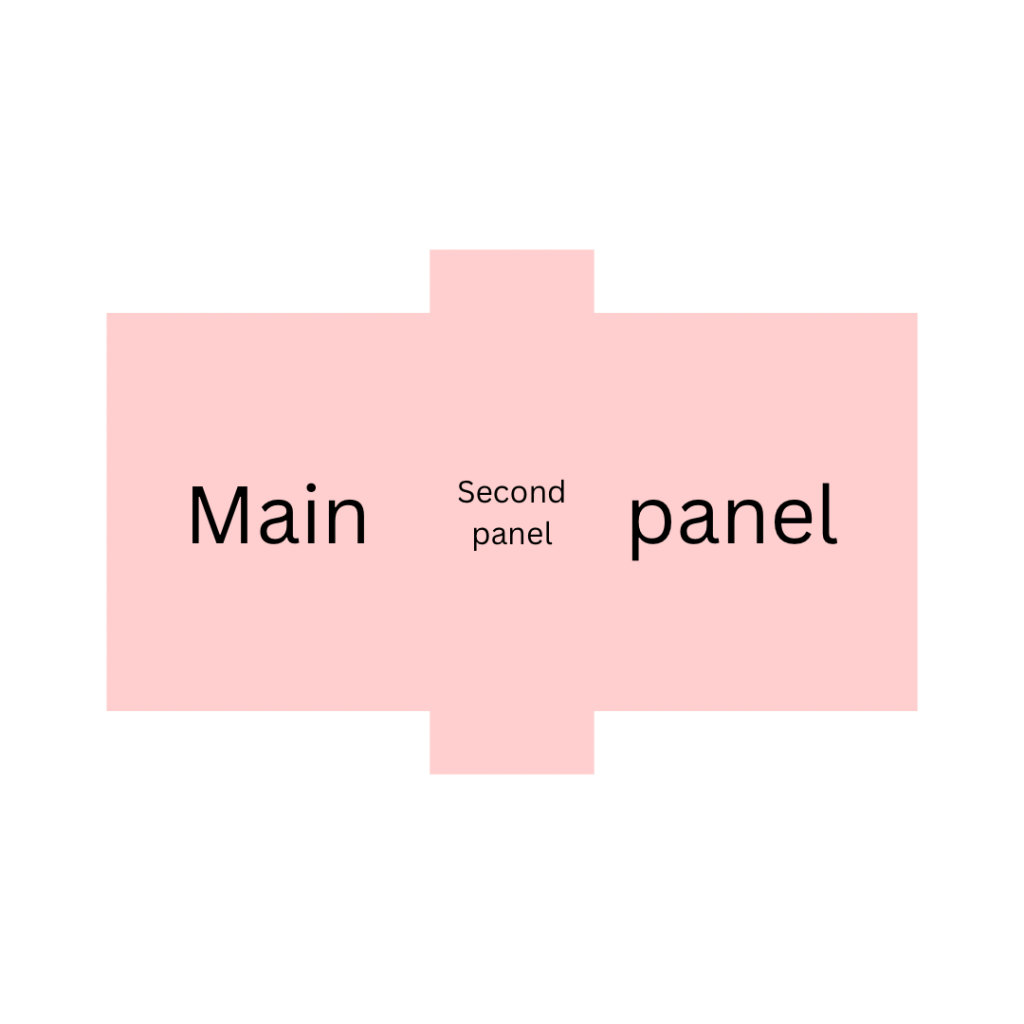
Main panel
Make a slip knot.
Ch 7
Row 1: SC into 2nd chain from hook, SC 5 <6>
Row 2: Ch 1 and turn, SC 6 <6>
Row 3-4: Ch 2 and turn, DC 6 <6>
Row 5-7: Ch 1 and turn, SC 6 <6>
Fasten off.
Weave in all ends.
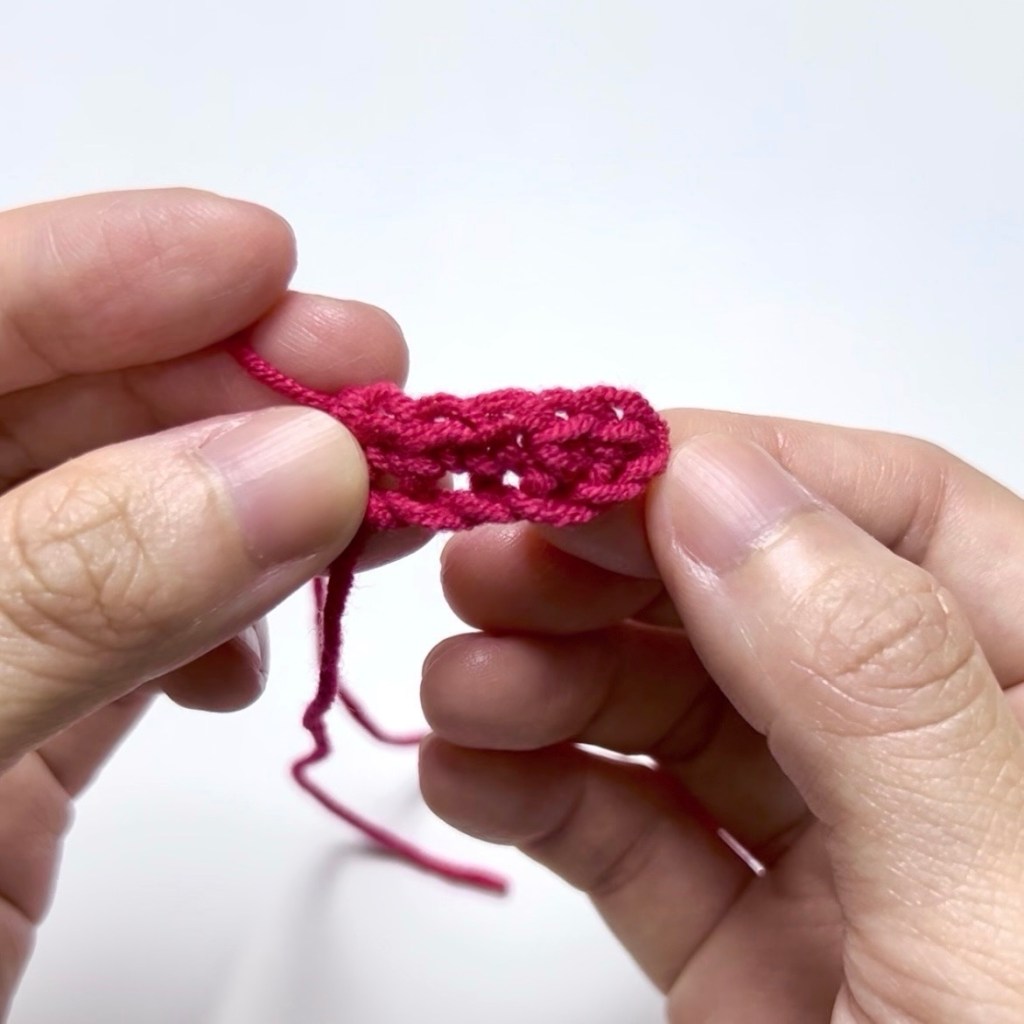
Second panel
Make a slip knot.
Ch 6
SC into 2nd chain from hook, SC 4 <5>
Fasten off and leave a long tail.
Tie the two tails together to be ready for the assembly.
Assembly
Use the second panel to wrap around the main panel in the middle.
Tightly sew the two ends of the second panel together with the long tail. Adjust the bow shape to your preference. Sew through the middle of the bow for a secured assembly. Fasten off.
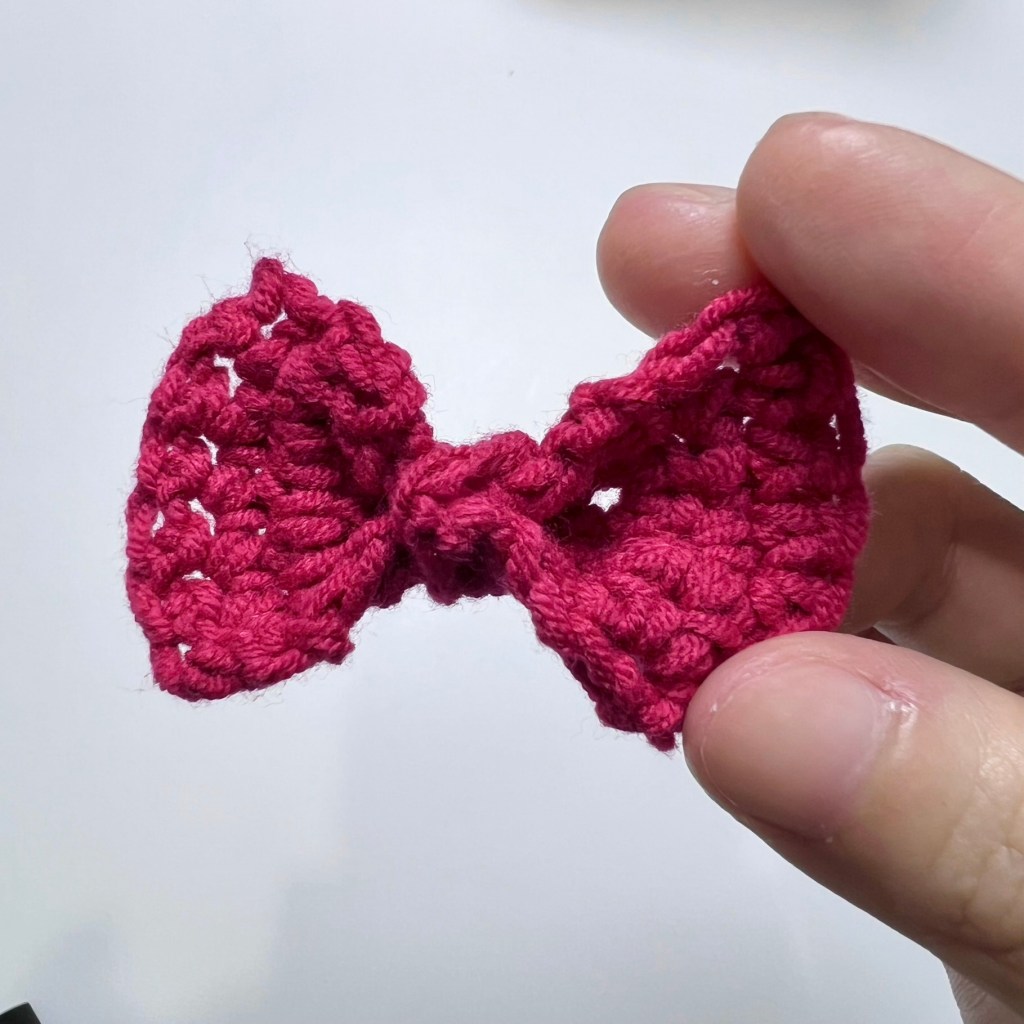
Attach the back side of the finished bow to the alligator hair clip with glue gun.
Tips
1. When attaching the bow to the alligator hair clip, only apply tiny bits of glue to three parts (shown below) for a cleaner finish. The three parts should be attached one by one: the middle part goes first, then the other two sides. It would help avoiding any unwanted mess if you wait until the glue is fully dried before attaching a new part.
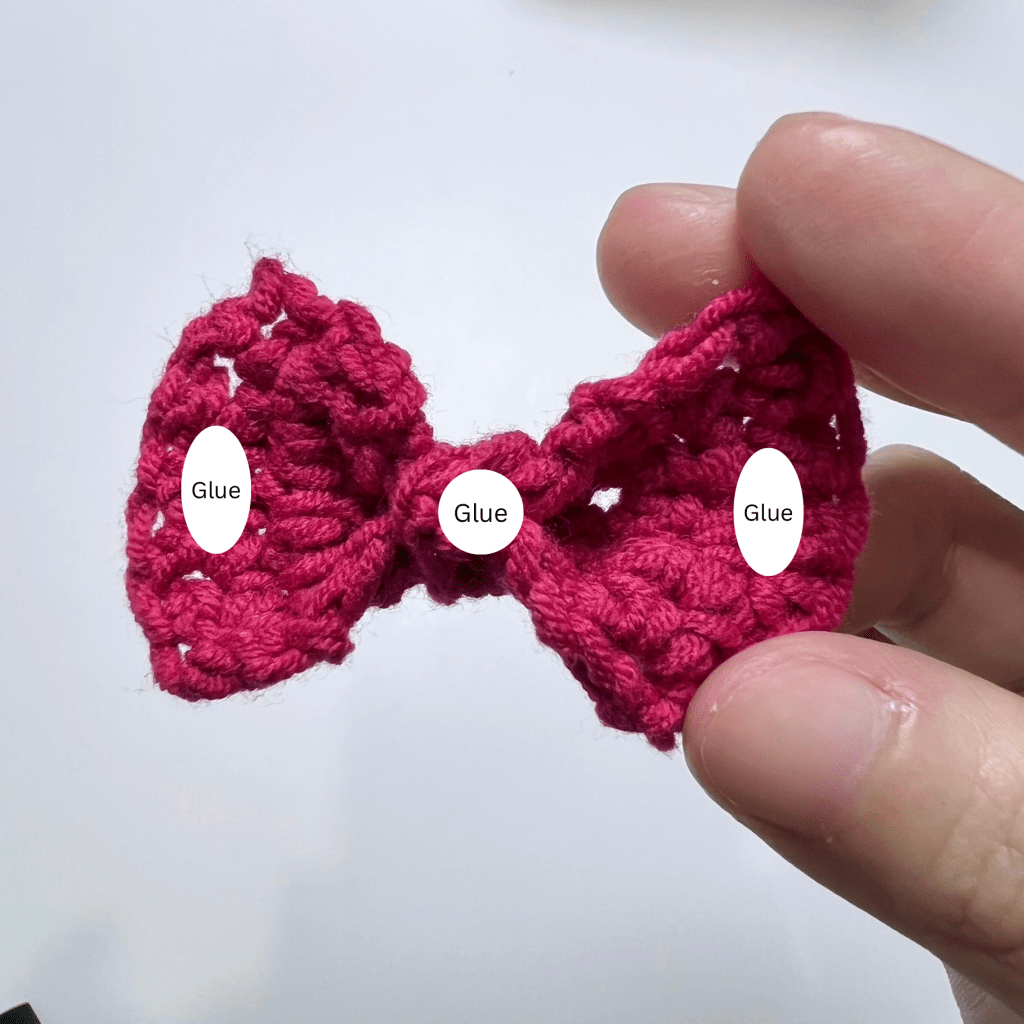
2. Apply pressure gently when the glue is drying. The glue may overflow and ruin the look of the front side if too much pressure is applied.
And there you are, you have finished your mini bow hair clip! It’s pretty easy, right?! With the techniques used in this pattern, you can now make plenty of bows and use them in different projects. You may use different yarn to play with the color, size and texture.
Besides, this pattern only requires a small amount of yarn, which would be a great way to use up any scrap yarn you have on hand as well. The best part of this pattern is how you can simply alter the number of starting chains and rows to make bows in any size you like!

You may also check out the tutorial video for reference. It is available on my both Instagram account and YouTube channel.
Hope you enjoyed this pattern and love it as much as I do! It’s my first time making my own pattern along with the tutorial video and I did have so much fun! I hope by doing this more often, I can build up my skills as a crochet pattern designer and share more patterns with you.
Please let me know if you have any questions or suggestions regarding the pattern and the tutorial video.
Thank you for your support and happy crocheting : )


Leave a comment